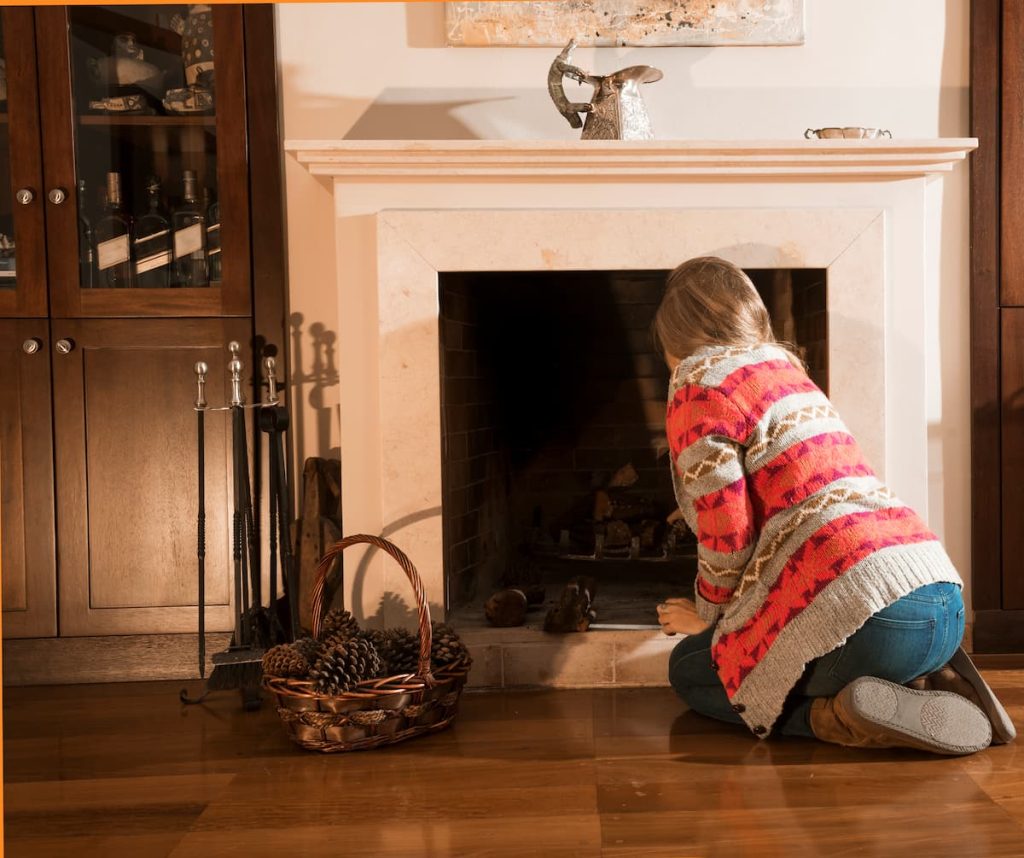
A stone fireplace often serves as the centerpiece of a living room, adding rustic charm and warmth. However, over time, the dark, heavy look of natural stone can begin to feel outdated, especially in modern, bright, and open spaces. If you’re looking to refresh your fireplace without covering up the natural beauty of the stone, whitewashing is the perfect solution. In this article, you’ll learn how to whitewash a stone fireplace step by step, along with all the essential tools, materials, and tips to achieve a stunning transformation.
Why Whitewash Your Stone Fireplace?
Before diving into the “how,” let’s first understand why whitewashing might be the ideal option for your fireplace. Whitewashing involves applying a watered-down paint solution to the surface of the stone, allowing the natural texture and details to show through while giving it a lighter, more modern look. Here are some key benefits of whitewashing:
- Brightens the Room: Dark stone can make a room feel smaller and more closed in. Whitewashing lightens the color, making your space feel brighter and more open.
- Preserves the Stone’s Texture: Unlike fully painting over the stone, whitewashing keeps the natural texture and character of the stone visible, which adds depth and interest to your fireplace.
- Cost-Effective Solution: Whitewashing is a budget-friendly DIY project compared to a full fireplace renovation or refacing.
- Easy to Customize: You can control how much of the stone’s natural color shows through, making it easy to match your desired aesthetic.
What You’ll Need to Whitewash a Stone Fireplace
Before you start whitewashing your stone fireplace, you’ll need to gather a few key tools and materials:
- Drop cloth or plastic sheeting
- Painter’s tape
- Wire brush or scrub brush
- Cleaning solution (mild dish soap or a stone cleaner)
- Bucket
- White latex paint (matte or eggshell finish)
- Water
- Paintbrush (preferably a chip brush or bristle brush)
- Rag or sponge
- Safety gear (gloves, goggles, and a mask)
How to Whitewash a Stone Fireplace : Step-by-Step Guide
1. Prepare the Area
Whitewashing can be messy, so it’s essential to protect the surrounding area. Lay down a drop cloth or plastic sheeting around the fireplace to protect your floors. Use painter’s tape to cover the edges of your walls, ceiling, and mantel to prevent accidental paint splashes.
If your fireplace has a gas or wood-burning insert, ensure it’s turned off and cool before you begin. If necessary, cover it with a protective cloth or plastic wrap to keep it clean.
2. Clean the Stone
Proper cleaning is crucial for achieving a smooth and even whitewash finish. The stone on your fireplace may have accumulated dust, soot, and grime over time, so it’s important to clean it thoroughly.
- Use a wire brush or scrub brush to loosen any dirt, soot, or debris from the stone surface.
- Mix a mild cleaning solution using water and a small amount of dish soap or a specialized stone cleaner.
- Scrub the stone with the cleaning solution, paying close attention to areas with more buildup.
- Rinse the stone with clean water and allow it to dry completely before proceeding to the next step.
3. Mix the Whitewash Solution
The key to a successful whitewash is the right paint-to-water ratio. For a lighter, more transparent look, use a more diluted solution. For a more opaque finish, use less water.
- In a bucket, mix equal parts white latex paint and water. This 1:1 ratio is a good starting point, but you can adjust it based on your preference.
- Stir the mixture thoroughly until it’s well combined. The consistency should be thin but not too watery.
4. Test the Whitewash
Before applying the whitewash to the entire fireplace, it’s a good idea to test it on a small, inconspicuous area to ensure you’re happy with the result.
- Dip your brush into the whitewash solution and apply it to a small section of stone.
- Use a rag or sponge to wipe off excess paint if you want more of the stone’s natural color to show through.
- Allow the test patch to dry completely before deciding whether to adjust the paint-to-water ratio. If you want a more transparent look, add more water to the mixture. If you want a more opaque finish, add more paint.
5. Apply the Whitewash
Once you’re satisfied with the test patch, you can proceed with whitewashing the entire fireplace.
- Dip your paintbrush into the whitewash solution and apply it to the stone in small sections. Use a blotting or dabbing motion to avoid heavy brush marks and create a more natural, textured appearance.
- Work from the top of the fireplace down to prevent drips from ruining your work.
- After applying the whitewash to a section, use a rag or sponge to blot and blend the paint, allowing some of the stone’s natural color to show through. Adjust the amount of whitewash depending on your desired level of coverage.
- Continue working in small sections until you’ve covered the entire surface of the stone.
6. Allow to Dry and Touch Up
Once the whitewash is applied, allow it to dry completely. Drying times can vary depending on the thickness of the application and the type of paint you used, but it typically takes a few hours to a full day.
After the whitewash is dry, step back and assess the overall look. If you notice any areas where you’d like more coverage, you can go back and apply another coat. If certain spots appear too heavy, use a damp cloth to gently remove some of the paint.
7. Seal the Whitewash (Optional)
Whitewashing doesn’t typically require sealing, especially if the fireplace is used primarily for decorative purposes. However, if your fireplace is exposed to high heat or you’re concerned about wear and tear, you can apply a sealant to protect the finish.
Choose a water-based, non-yellowing sealer that’s safe for use on painted stone. Apply the sealer according to the manufacturer’s instructions, and allow it to dry completely before using your fireplace again.
Whitewashing Tips and Tricks
- Choose the Right Paint: Opt for white latex paint in a matte or eggshell finish for the best results. High-gloss paints may be too shiny for a natural stone look.
- Customize the Look: You can create a more customized whitewash by adding a small amount of gray or beige paint to the whitewash solution to soften the starkness of the white.
- Work in Small Sections: Whitewashing can dry quickly, so it’s best to work in small sections to ensure you can blend and wipe off excess paint as you go.
- Ventilation: Ensure your workspace is well-ventilated while whitewashing, especially if you’re using a sealant afterward.
- Practice Patience: Don’t rush the process. Apply the whitewash slowly and carefully, allowing time for each section to dry before moving on to the next.
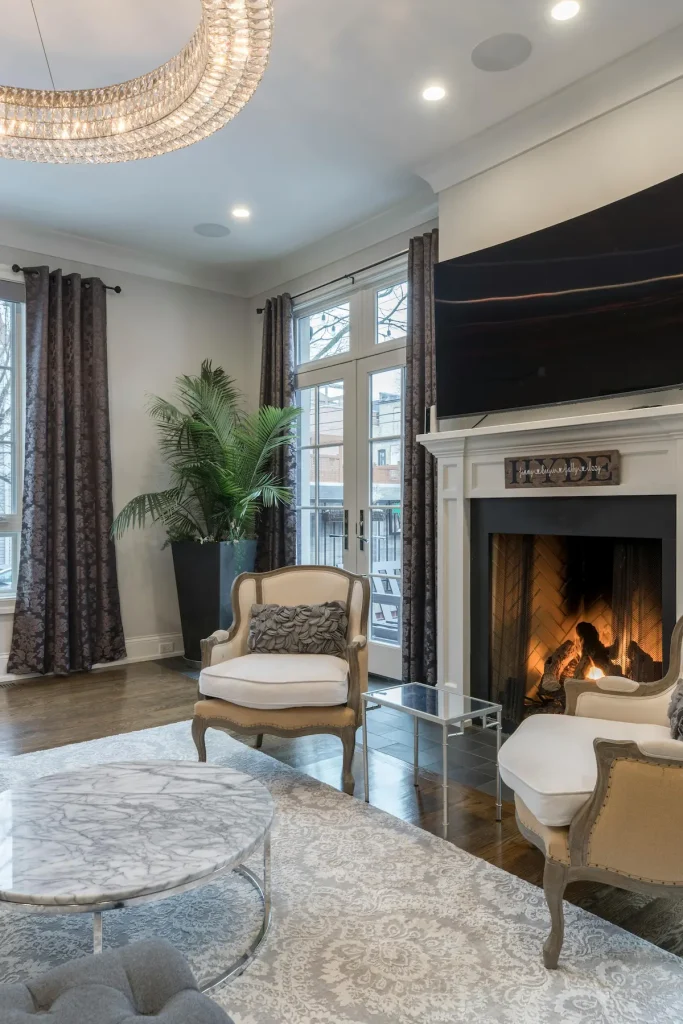
The Importance of Working with a Luxury Interior Designer
While whitewashing a stone fireplace can refresh the focal point of your living room, consulting a luxury interior designer can help elevate the entire room’s design. Their expertise ensures that the transformation complements the overall decor, enhancing the natural elements and modernizing the space. Reviewing an interior design portfolio of a top interior designer can provide inspiration for achieving the perfect balance between rustic and contemporary.
Why Whitewashing is a Favorite Among the Best Interior Designers
The best interior designers often recommend whitewashing a stone fireplace as a way to preserve the natural beauty of the material while modernizing the look. This simple, cost-effective technique is ideal for creating a light, airy atmosphere in homes that feature traditional stone elements.
FAQs About Whitewashing a Stone Fireplace
1. Can I whitewash a painted stone fireplace?
Yes, but you’ll need to remove as much of the previous paint as possible before applying the whitewash. Sandblasting or paint removers may help, though you’ll need to be cautious to avoid damaging the stone.
2. Will whitewashing damage the stone?
No, whitewashing is a surface treatment that doesn’t damage the stone. However, it’s essential to clean and prep the stone before applying the whitewash to ensure proper adhesion.
3. How long does whitewashing last?
Whitewashing is relatively long-lasting and can remain in good condition for years, especially if the fireplace isn’t used frequently. You may want to reapply or touch it up every few years to maintain the desired look.
4. Can I use other colors besides white?
Absolutely! While white is the most common color for a whitewashed look, you can experiment with other light, neutral shades like gray, cream, or taupe for a more customized finish.
Conclusion
Whitewashing your stone fireplace is an excellent way to brighten up your living space while maintaining the natural beauty and texture of the stone. By following these simple steps, you can transform your fireplace into a stylish, modern centerpiece that complements your home’s décor. Whether you’re looking for a subtle change or a more dramatic update, whitewashing offers a versatile, budget-friendly solution that can breathe new life into your fireplace without covering up its unique character.

